Lighting tips for home staging that help you choose bulbs and placement
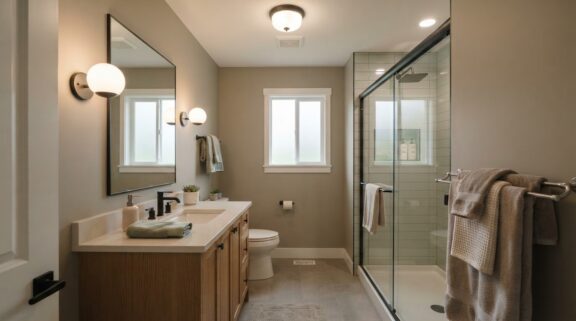
Good listing photos start with balanced light, not simply more bulbs. These lighting tips for home staging begin with a practical rule: use at least three sources of light in a room, and keep bulb colour consistent within that space. Choose warm white around 2700 K for living areas, with brighter, cooler light in kitchens and bathrooms.
It’s easy to focus on fixtures and overlook how lighting shapes a room on camera. Natural light, well-placed lamps, and even illumination help a home feel welcoming in person and look inviting in listing photos.
Here, you’ll learn how to choose bulb colour and quantities, brighten bathroom mirrors and showers, refresh dated fixtures, and make the most of daylight when preparing a home for photography. You’ll also see how to layer ambient, task and accent lighting so rooms feel considered rather than flat. Small adjustments can bring out a home’s warmth and help its best features read clearly in every frame.
Key Takeaways
- Match bulb colour within each room, using warm white for restful living areas and brighter, cooler light where clear visibility matters.
- Layer bathroom lighting and position mirror lights to make the space feel both practical and inviting.
- Refresh worn or dated fixtures and replace burned-out bulbs to give rooms a more considered, cared-for look.
- Prepare for listing photos by making the most of daylight and adding balanced light where a room feels dim.
1. Keeping light colour consistent within each room
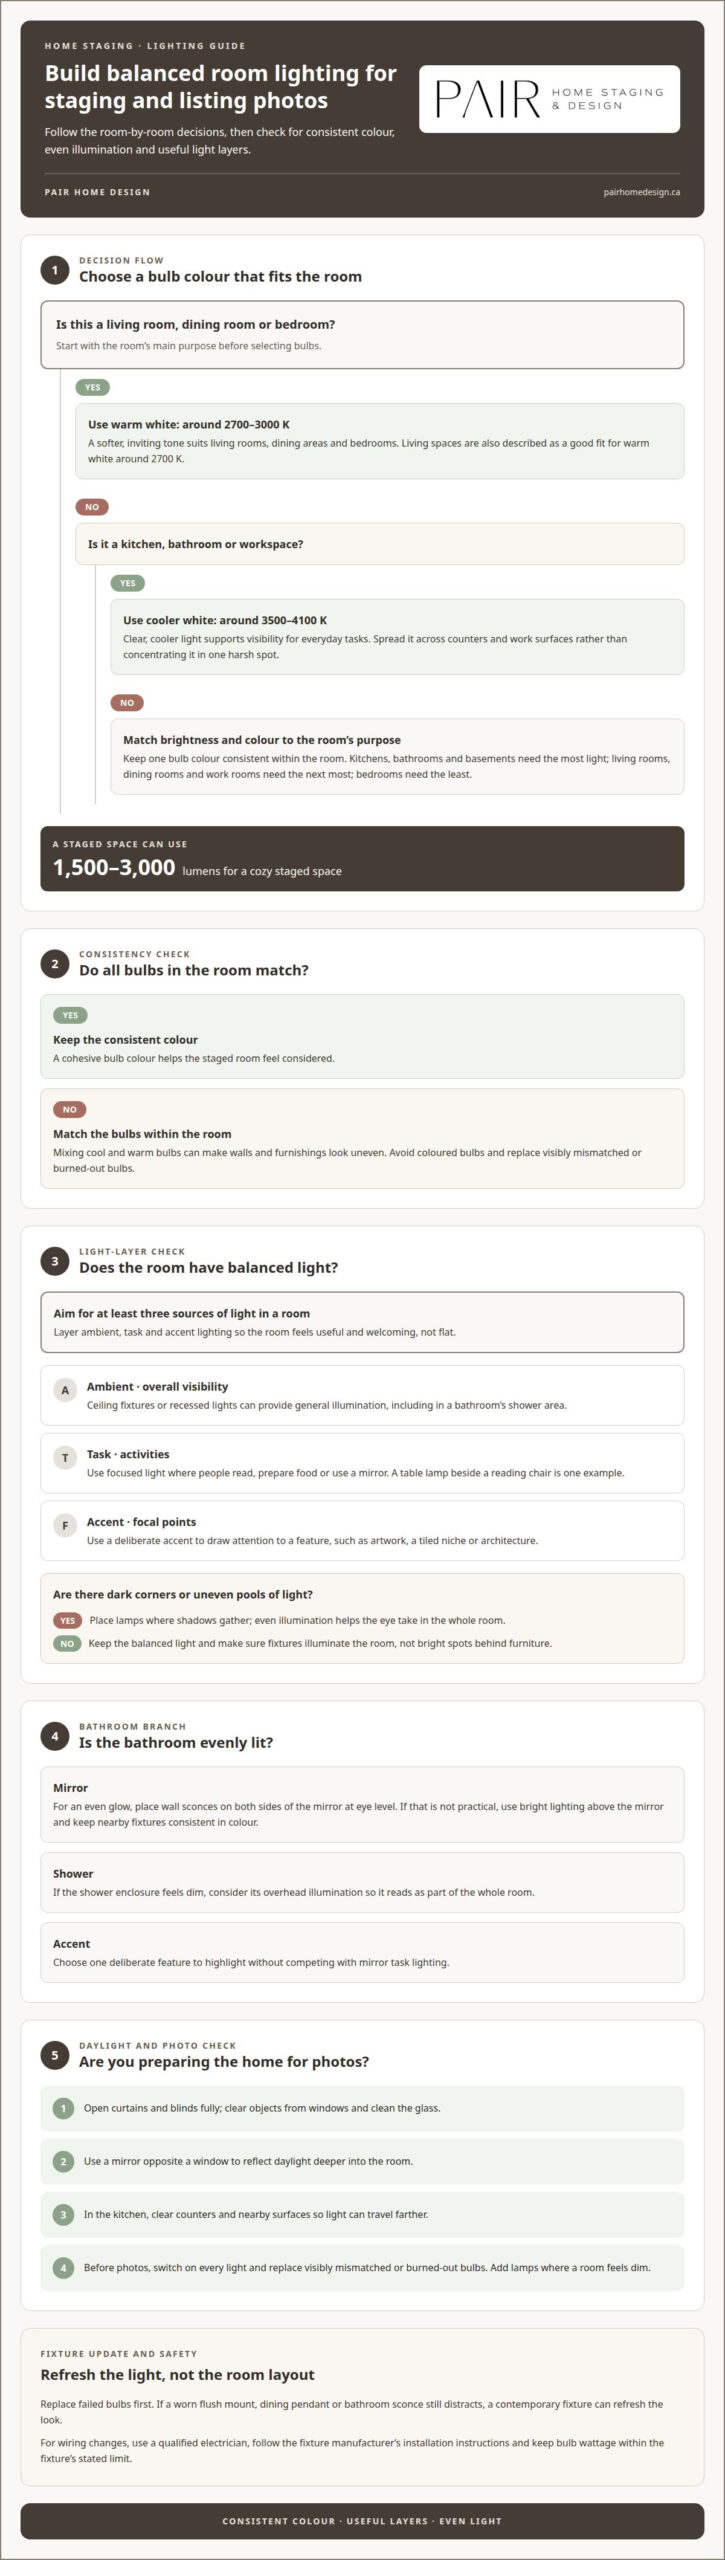
Choose one bulb colour for each room so the staged home feels cohesive. Warm white around 2700 K suits living spaces, where softer light supports a relaxed atmosphere. Mixing a cool bulb beside a warm one can make walls and furnishings look uneven. Buyers may notice that colour shift even when every fixture works.
In Canada, the cost of a lighting update depends on the case and is given after a quote request. Factors include whether you’re replacing bulbs or fixtures, the fixture choices, and whether installation is needed. Swapping a burned-out bulb is a different scope from replacing a dated flush mount or adding new lighting.
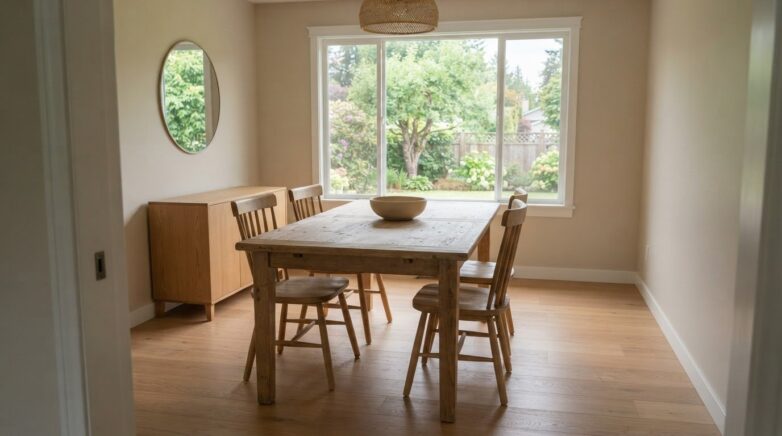
To make the most of natural light, open curtains and blinds fully, clear objects from windows, and clean the glass. A mirror opposite a window can reflect daylight deeper into the room. In the kitchen, clear counters and nearby surfaces so light can travel farther into the space.
Match brightness to each room’s purpose. Kitchens, bathrooms, and basements need the most light; living rooms, dining rooms, and work rooms need the next most. Bedrooms need the least, with balanced bedside lamps offering soft, localized light for reading. A cozy staged space can use 1,500-3,000 lumens. In kitchens, bathrooms, and work areas, clear, cooler light supports everyday tasks.
Avoid mixing several bulb tones in one room, using coloured bulbs, or leaving burned-out bulbs in visible fixtures. Replacing a dated flush mount can refresh a ceiling without changing the room’s layout. Wall sconces can brighten a small room without taking up floor space.
Lighting affects how spacious a room feels. Dark corners and uneven pools of light can make a compact living room seem smaller, while even illumination helps the eye take in the whole space. Keep bulb colour consistent, then place lamps where shadows gather.
2. Bathroom mirror, shower, and accent lighting
Give each bathroom light a clear purpose. Ceiling fixtures or recessed lights provide ambient illumination throughout the room, including the shower area. Bright light around or above the vanity mirror supports everyday tasks. Accent lighting adds depth by drawing attention to a tiled niche, attractive finishes, or a well-styled counter without making the room feel too bright.
For an even glow at the mirror, place wall sconces on both sides at eye level. This reduces the harsh facial shadows a single overhead light can cast. If side sconces aren’t practical, use bright lighting above the mirror and keep nearby fixtures consistent in colour. Balanced vanity lighting also helps buyers picture a functional daily routine, from shaving to applying makeup.
Give the shower its own consideration. If the ceiling fixture leaves the enclosure dim, it can feel disconnected from the brighter vanity. Well-distributed overhead light helps the bathroom read as one complete room. Keep the focus on clean tile, glass, and appealing hardware; accent lighting can highlight a distinctive feature without competing with task lighting at the mirror.
Use the same three lighting layers throughout the home: ambient light for overall visibility, task lighting for activities, and accent lighting for focal points. A table lamp beside a reading chair, for example, provides task light, while a nearby wall sconce can highlight artwork. In a room with high ceilings, an upward-facing accent light can draw attention to the architecture. Arrange furnishings so fixtures illuminate the room rather than creating bright spots behind furniture.
In bathrooms, aim for a well-lit mirror, a comfortably lit shower, and one deliberate accent. Together, these choices make the room feel cared for and functional while drawing attention to its best details for potential buyers.
3. Updating dated fixtures and replacing burned-out bulbs
A worn fixture can make a well-kept room feel dated, while a burned-out bulb creates an obvious dark spot. Replace failed bulbs first, then assess whether an older flush mount, dining pendant, or bathroom sconce distracts from the room. A contemporary fixture can refresh the look without changing the furniture or layout.
For living rooms, dining areas, and bedrooms, choose warm white bulbs around 2700K-3000K to create an inviting atmosphere. Kitchens, bathrooms, and workspaces benefit from cooler white light around 3500K-4100K, where clear visibility matters. In task-heavy areas, use bright, well-distributed light across counters or work surfaces rather than concentrating it in one harsh spot.
LED bulbs are a practical staging choice: they last longer and use less energy than incandescent bulbs. CFL bulbs also last longer and use less energy than incandescent options. In the kitchen, combine ceiling light with under-cabinet LEDs to illuminate counters, sinks, and stoves. In a reading nook, a table lamp provides focused task light and a welcoming feel.
Smart bulbs let you control brightness and timing from a smartphone, making it easier to prepare consistent lighting for listing photos. Set a steady, neutral-to-warm tone across the room and keep the controls simple for potential buyers. Avoid coloured settings that distract from the home’s finishes. Use smart features only when they make the space easier to operate.
For Canadian electrical safety, treat fixture wiring as electrical work, not a casual staging task. Use a qualified electrician for wiring changes, follow the fixture manufacturer’s installation instructions, and keep bulb wattage within the fixture’s stated limit. A bulb choice should suit both the room and the fixture.
Before listing photos, switch on every light and replace visibly mismatched or burned-out bulbs. Coordinated fixtures and even illumination help kitchens feel functional, dining spaces feel inviting, and accent lighting highlight a room’s strongest details.
4. Improving listing photography with lighting
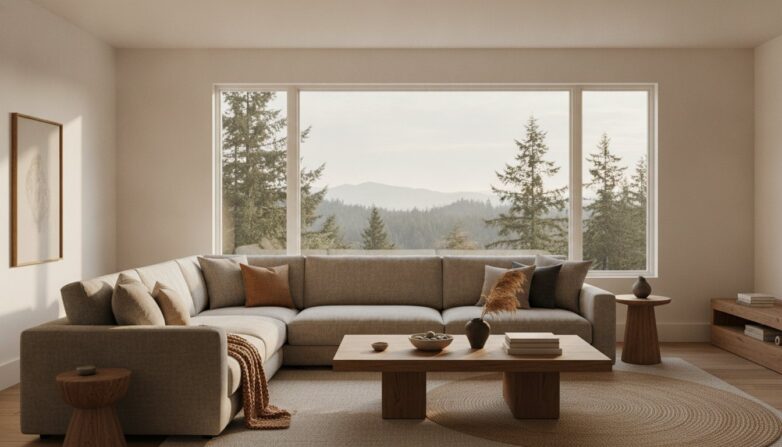
For real estate photos and showings, open curtains and blinds, turn on room lights, and use lamps to brighten dim corners. When possible, schedule photos or showings during the home’s brightest hours. In the living room, combine window light with a table lamp to keep the space bright and welcoming. Professional agencies such as letsgetyoumoving.co.uk often emphasize that thoughtful visual presentation is essential to making properties stand out to prospective buyers. These lighting tips for home staging help create a consistent impression from the first image to the in-person visit.
Prepare each staged room for the camera. Clear objects from windows, clean the glass, and use sheer curtains to soften daylight while preserving privacy. South-facing windows tend to provide the most natural light. If a bedroom gets little sun, place a lamp near a dark corner and position its shade so it doesn’t block the window or create glare.
Listing photos can reveal uneven lighting that is less noticeable in person. Before the photographer arrives, switch on the fixtures that will appear in each frame and replace burned-out bulbs. Check that nearby lights produce similar hues: a cool ceiling light beside a warm table lamp can make walls look inconsistent. In the kitchen, under-cabinet lighting can brighten counters without relying on a single overhead source.
Balance brightness across the frame instead of aiming every light at the camera. A lamp facing a pale wall can spread a softer glow, while accent lighting can draw attention to an appealing feature, such as a fireplace or architectural detail. Independent estate agencies like Nikki Homes frequently emphasize how subtle accent lighting showcases unique character and elevates marketing photography. Keep reflective surfaces, including mirrors and glass tables, free of direct glare. For evening showings, exterior lights can illuminate the path and entry, while backyard lighting helps visitors picture using the space after dark.
Good lighting tips for home staging include viewing each room from the doorway before photos. Look for dark corners, harsh reflections, and visible cords, then adjust the room’s presentation. Thoughtful listing-focused home staging brings lighting and room presentation together, so the photos feel connected to the experience of walking through the home.
Pair Home Design: Home Staging
Pair Home Design prepares homes for sale with thoughtful Home Staging that brings lighting, furniture placement, and room flow together. Consider this service when changing individual bulbs isn’t enough to make the property feel cohesive, or when you want rooms to show clearly in listing photos and during viewings.
For a lighter-touch approach, Home Consults can guide decisions about what to adjust before listing, while Home Styling can refine a space’s presentation and feel. Realtors can also explore The Agent’s Edge as a staging resource. The right approach depends on the property and the support needed to make it feel welcoming, functional, and ready to show.
To discuss getting your property ready for sale, contact Pair Home Design.
Make the first impression feel complete
Before your listing goes live, walk through the home as a potential buyer might, from the entry to the main living areas. Notice how the atmosphere shifts between rooms and whether the presentation feels considered throughout. This perspective can help you decide which details deserve attention before photography and showings.
Lighting is one part of preparing a home to feel welcoming in person and in photos. If coordinating the overall presentation feels like a bigger task, Pair Home Design can help create a cohesive approach suited to the property and its listing goals.
Contact Pair Home Design to discuss your next step. A thoughtful, well-prepared space can help buyers imagine what living there might feel like.
Frequently Asked Questions
What bulbs and how many?
Use at least three light sources in a room, such as an overhead fixture, a table lamp, and a floor lamp. A useful starting point among lighting tips for home staging is to match bulb colour within each room; living spaces often suit warm white around 2700 K. In a staged bedroom, two bedside lamps can create a balanced look. Fixture shape and placement affect how widely light spreads.
What lighting makes a home look best for staging and listing photos?
Aim for steady, even light that shows the room’s finishes without making bright areas look harsh. Before photos, turn on the fixtures that will appear in the frame and check the view from the photographer’s position. For example, a lamp near a dark living-room corner can brighten the composition without distracting from the room’s main features.
How should you layer ambient, task, and accent lighting when staging a home?
Start with ambient light for general visibility, add task lighting where activities happen, then use accent lighting to draw the eye to a feature. One of the most useful lighting tips for home staging is to give each source a clear role. In a dining area, a ceiling fixture lights the table, while a small sideboard lamp adds a softer point of interest.
Which rooms need the most attention when updating lighting for home staging?
Prioritize kitchens, bathrooms, and basements, then consider living rooms, dining rooms, and work areas. Bedrooms generally need less light. Focus on places buyers use or notice, such as a kitchen counter, bathroom vanity, or dark basement stairway. A burned-out bulb or poorly lit entry can also disrupt the impression as visitors move through the home.