Staging a Home for Photos: Make Every Room Feel Camera-Ready
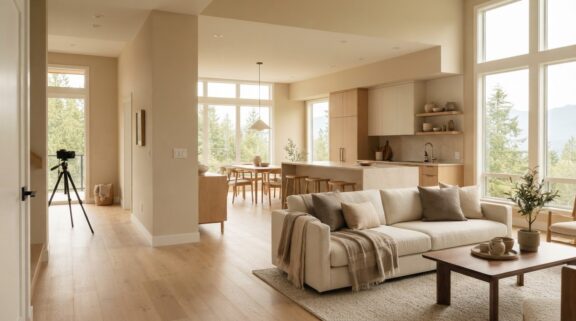
What makes listing photos feel clear, spacious, and welcoming? Staging a home for photos helps each room read well on camera, especially when you’re still living there and deciding whether to start with the kitchen, living room, or smaller details that stand out in a picture.
You don’t need to erase the signs of everyday life. Thoughtful edits can clarify how a room works, open up sightlines, and let natural light and inviting details come through without making your home feel impersonal. The goal is a polished presentation that still feels like a place someone could happily live.
This guide offers a manageable plan for preparing each room, from the first impression at the entry to the finishing touches that make a space feel cared for. Learn what to prioritize, how to avoid choices that make rooms feel smaller or darker, and when a pre-listing consultation or professional staging perspective can help you prepare with confidence.
Key Takeaways
- See why clutter, crowded furniture placement, and uneven lighting can be more noticeable in a photo than they feel in person.
- Learn room-by-room ways to show function and flow in your living area, kitchen, bedroom, bathroom, and entry.
- Discover how staging a home for photos relies on editing and purposeful placement, not simply adding more décor.
- Use a photo-day sequence to reset surfaces, adjust lighting, and review each room from the camera’s viewpoint.
- Find out how a pre-listing consultation with Pair Home Design can turn photo-preparation concerns into practical priorities.
Why staging a home for photos needs a different eye than everyday tidying
A room can feel comfortable and orderly in daily life yet look crowded in a listing photo. A photograph captures one fixed view, so furniture, objects, and light need to work together from that angle. Staging a home for photos means editing and arranging the space so its scale, function, and atmosphere come through clearly while preserving the features that make it feel like a real home.
Everyday tidying puts things away and clears what’s needed for daily routines. Photo-focused staging takes another look: does the arrangement make the room’s purpose easy to understand, and can the eye move through the image without getting caught on distractions? The broader purpose and techniques of What is Home Staging? offer useful context, while photo preparation focuses on how the room reads in a photograph.
Photo-ready staging is the thoughtful editing and placement of furnishings and details so a home’s real spaces feel clear, functional, and inviting on camera. It isn’t about making a home look bigger than it is or hiding its character. It’s about showing what’s there with care.
What does staging a home for photos actually involve?
Start with what’s already in the room. Edit and arrange existing furnishings so they support the room’s purpose and leave important features visible. A dining room should read as a place to gather; a living room should feel easy to move through. The goal is to draw attention to the home’s layout and natural strengths, not disguise them with props or an overly styled look.
Picture a dining table covered with mail, a laptop, and everyday items. In person, it may look like a busy household. In a photo, the surface can become the main event, making it harder to imagine sitting down for a meal. Clear it, then leave a simple, considered arrangement that lets the table and surrounding space show. The room still feels lived in, just easier to read.
Why can a room feel different on camera?
A camera records one view at a time. From the doorway, a chair that partly blocks a walkway or a cluster of objects on a side table can compete with the room’s proportions and focal points. The viewer can’t turn their head to take in the rest of the space, so a clear sightline matters. Small visual distractions can carry more weight in a still image.
Light shifts the impression, too. Natural light changes through the day, and a room can appear bright and airy in one moment, then flatter or more shadowed later. Notice where light falls and whether the view feels balanced. A dark corner or bright window can draw attention away from the room itself. A welcoming photo doesn’t need a showroom-perfect space. It needs a considered view where the layout is understandable, details feel intentional, and the home’s warmth remains.
How light, layout, and styling shape listing photos room by room
Each room asks the camera to tell a different story. A living area should show how people can gather, while a kitchen needs to feel usable and a bedroom restful. Room-by-room staging makes those functions easy to read without relying on a pile of decorative accents. The National Association of Realtors on Home Staging offers broader insight into staging’s role in presenting a home; the details below apply that perspective to the photo frame.
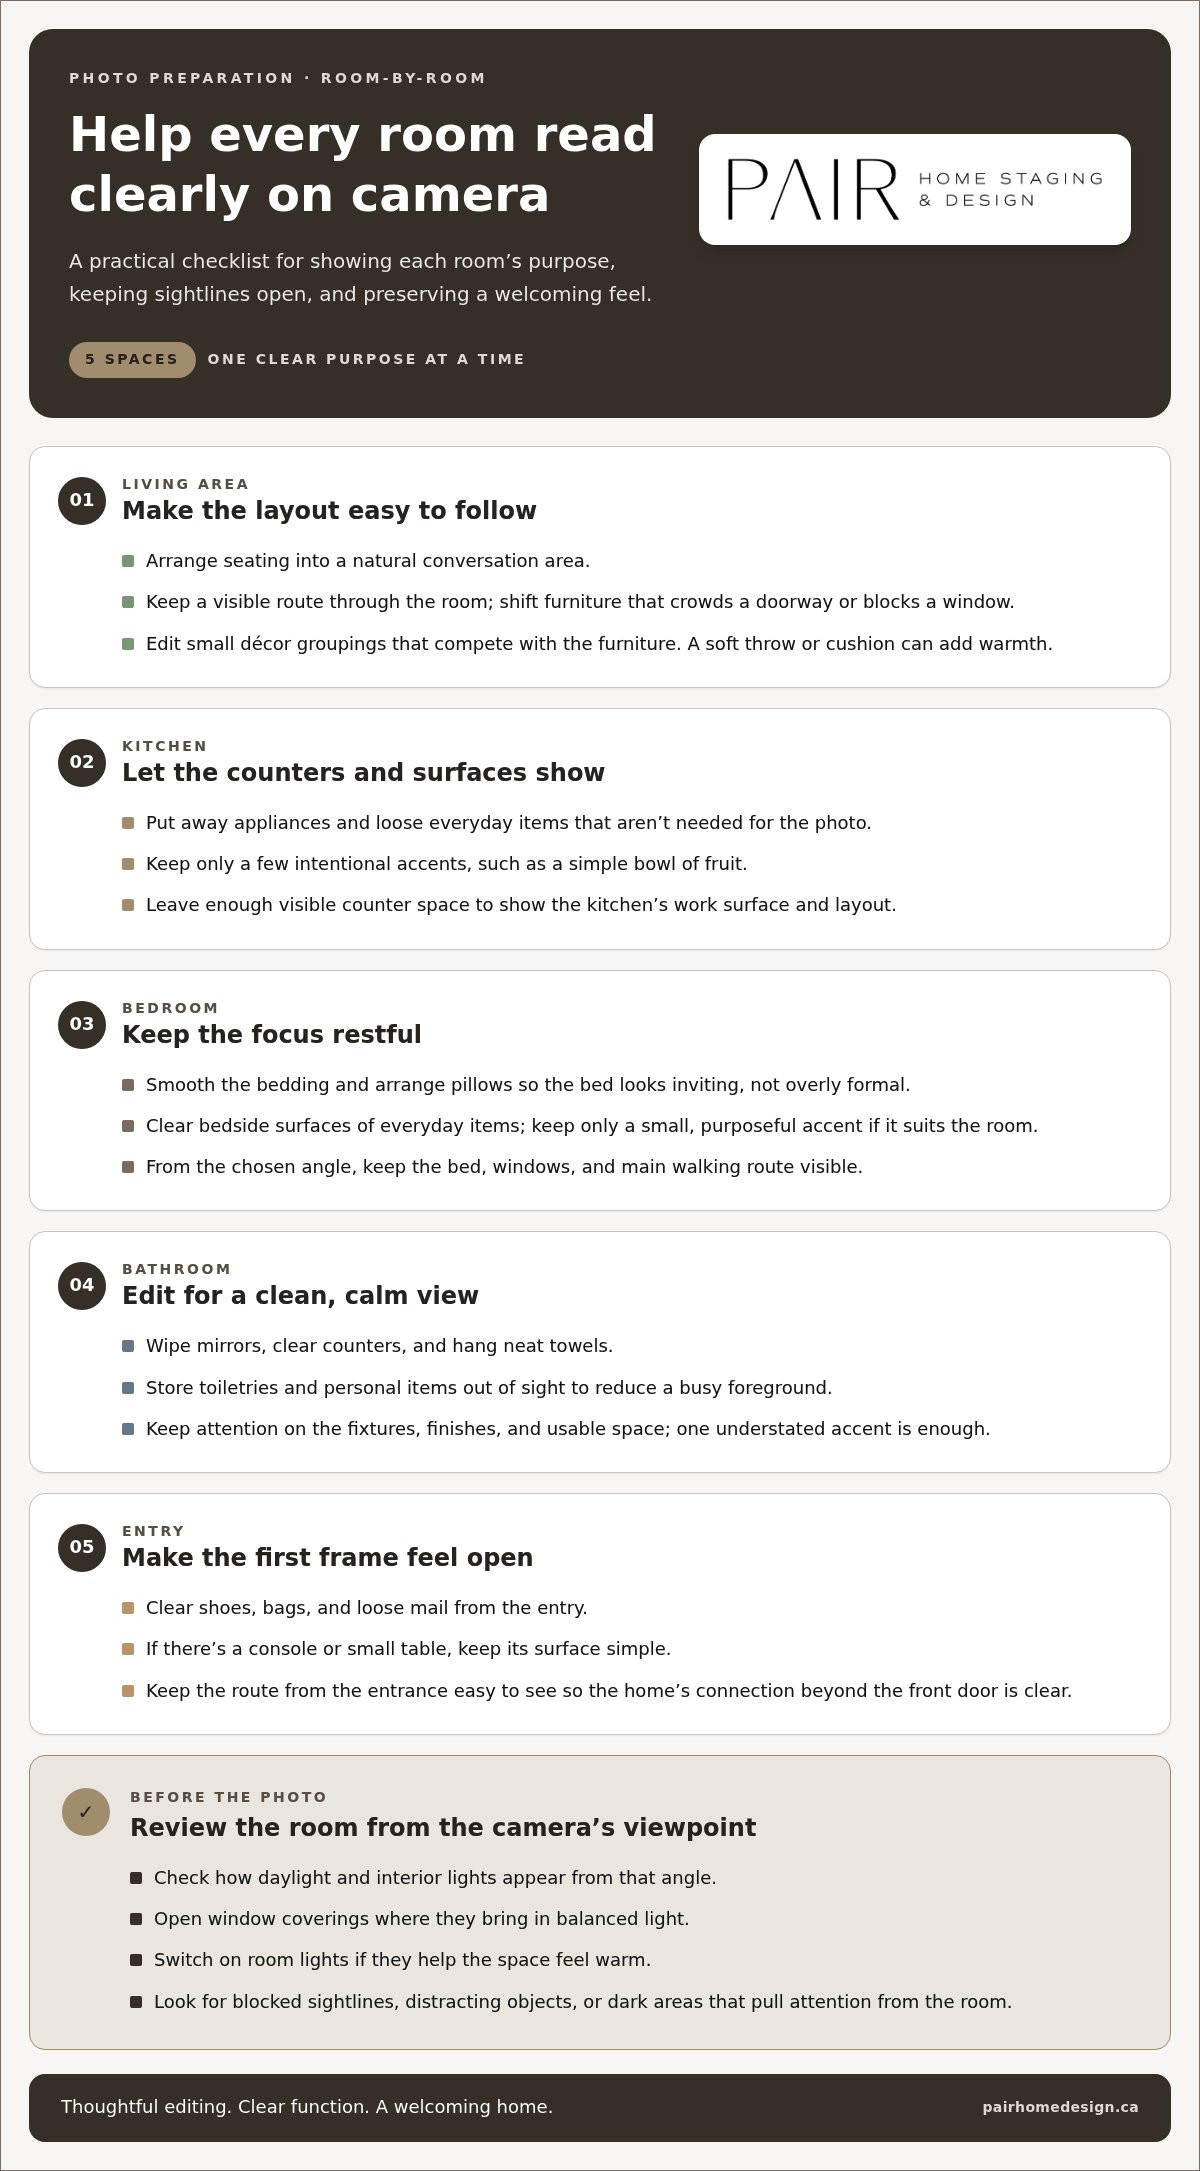
Living area: make the layout easy to follow
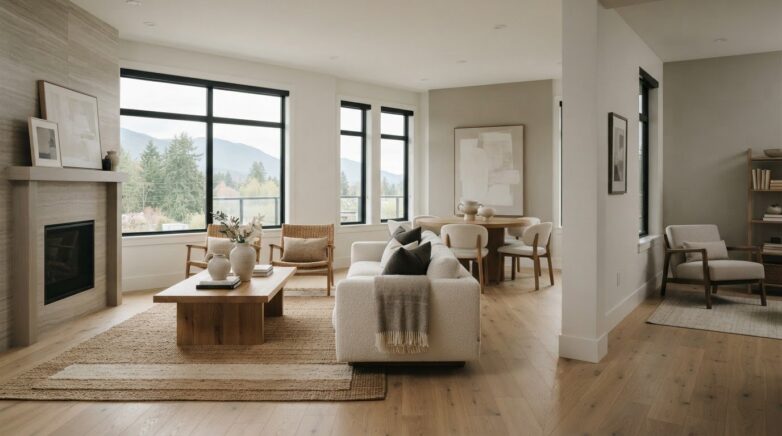
Arrange seating to create a natural conversation area while leaving a visible route through the room. If a chair blocks the view of a window or a sofa crowds a doorway, shift it so the focal point and circulation are easier to see. Edit small décor groupings that compete with the furniture. A soft throw or cushion can add texture and warmth, while a restrained colour palette keeps attention on the space.
Kitchen: let the counters and surfaces show
Clear counters help the camera register the work surface and cabinetry rather than a collection of daily items. Put away appliances and loose objects that aren’t needed for the photo, then keep just a few intentional accents, such as a simple bowl of fruit. Check that items don’t interrupt the view across the counter or distract from the kitchen’s layout. Leave enough visible surface for the room to feel practical, not bare.
Bedroom: keep the focus restful
Smooth the bedding and arrange pillows so the bed looks inviting, not overly formal. A rumpled duvet or uneven blanket can become a strong visual detail in a still frame. Clear bedside surfaces of everyday items and keep only a small, purposeful accent if it suits the room. Before the photo, check that the bed, windows, and main walking route are visible from the chosen angle.
Bathroom: edit for a clean, calm view
Wipe mirrors, clear counters, and hang neat towels so the room feels cared for. Toiletries and personal items can create a busy foreground, especially in a compact bathroom, so store them out of sight for the photos. A single understated accent is enough if the counter has room for it. Keep the view focused on the fixtures, finishes, and usable space rather than adding accessories that make the room feel crowded.
Entry: make the first frame feel open
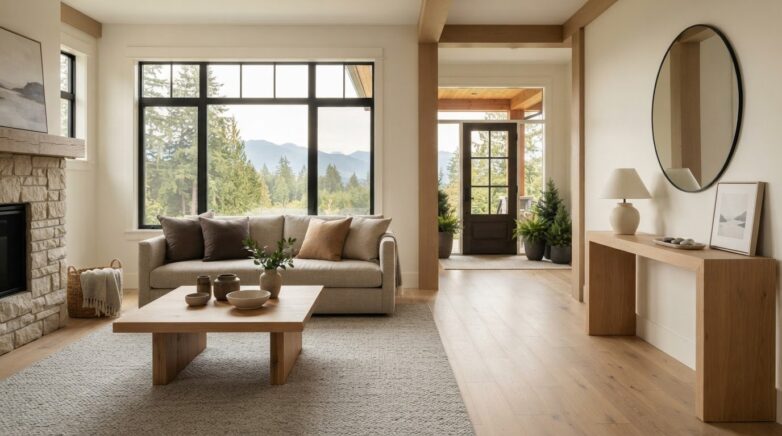
Clear shoes, bags, and loose mail from the entry so the doorway and route into the home are easy to see. If there’s a console or small table, keep its surface simple. A clear sightline from the entrance helps the image feel welcoming and gives viewers an immediate sense of how the home connects beyond the front door.
Across every room, check how daylight and interior lights appear from the photographer’s viewpoint. Open window coverings where they bring in balanced light, and switch on room lights if they help the space feel warm. Uncluttered sightlines help a room’s purpose register quickly, so viewers can take in its layout before small details compete for attention.
If you’d like help deciding which adjustments matter most in your home, a pre-listing staging consultation can turn photo concerns into practical priorities.
DIY photo staging or professional help: what is the right balance?
Photo preparation doesn’t have to mean a complete redesign. In many occupied homes, the furniture already suits the rooms; the main task is deciding what to edit, what to adjust, and which areas deserve attention first. Staging a home for photos can be a focused DIY effort or an opportunity for a fresh perspective, depending on your time, confidence, furnishings, and how clearly each room’s purpose comes across.
One common misconception is that staging means adding decorative objects until a room looks finished. Often, the more useful move is to remove visual noise and place what remains with intention. Authenticity matters: a believable room can feel warm and personal while thoughtful composition helps its scale and function register in photographs. For more photo-preparation ideas, see Redfin’s guide to staging for photos.
When can homeowners prepare listing photos themselves?
DIY preparation can work well when rooms are already furnished, their purpose is obvious, and you can identify a manageable list of edits. Try a phone-camera walkthrough from the viewpoints a photographer might use. Review each frame for objects that interrupt a view, furniture that makes the layout harder to read, or surfaces that appear busier on screen than in person.
Keep the plan realistic for an occupied home. Pets, family routines, and limited time can make repeated resets difficult, so focus first on the spaces and views that need the most attention. A few deliberate changes are more useful than trying to make every room look untouched.
When can a professional staging perspective help?
A fresh eye is especially useful in vacant rooms, spaces with an unclear purpose, or awkward layouts where it’s hard to picture furniture placement. Thoughtfully selected furniture and décor can show scale, create visual balance, and suggest how a room might be used without making it feel overfilled. In an occupied home, professional guidance can also help you decide what to keep, move, or edit.
A pre-listing consultation provides specific, actionable preparation advice. It’s useful when you’re unsure where to begin or don’t have time to troubleshoot every room yourself. It turns broad photo concerns into priorities suited to your home, rather than a directive to change everything.
Think about the decision through four practical lenses:
- Time: Can you prepare and reset the key rooms around everyday routines?
- Confidence: Do you know which items are distracting in the camera’s view?
- Room complexity: Are the layout and purpose clear, or does the space feel hard to interpret?
- Furnishings: Do you have pieces that help show the room’s scale and use?
If you’re weighing the value of staging in British Columbia, consider how presentation, room function, and your preparation priorities fit together. For tailored advice on photo preparation, Pair Home Design’s pre-listing staging consultations help you choose practical next steps while keeping your home’s welcoming character intact.
A calm, practical photo-day preparation plan for your home
A simple sequence keeps photo preparation manageable, especially when the home is still in use. Focus on what will appear in the frame, not on tackling renovations or trying to reset every part of daily life. This approach to staging a home for photos moves you from broad priorities to small, visible details without losing the home’s welcoming feel.
- Walk through. Look at each room from likely camera viewpoints. Notice what draws your eye first, which areas feel crowded, and whether the room’s purpose is clear.
- Edit surfaces. Put away loose items from counters, tables, and floors. Keep a few useful or considered details in view, and move personal essentials somewhere easy to retrieve later.
- Reset rooms. Straighten furniture, smooth bedding, arrange towels, and clear the main pathways. Check that doors can open fully and that the route through each room feels natural.
- Adjust light. Open or adjust window coverings as directed by the photographer. Turn on suitable lights, and check that the result feels balanced rather than overly bright or shadowed.
- Review camera views. Use your phone to check the frame from the photographer’s viewpoint. Make only small changes that improve clarity and composition.
What should you do the day before the photographer arrives?
Get a head start by clearing unnecessary items from counters, floors, and main visual pathways. Prepare bedding, towels, and other visible textiles so they look neat in both close and wide views. Store everyday essentials out of sight, but keep each room’s function legible. A desk, for instance, can still read as a workspace without papers and chargers covering it.
If you live with children or pets, choose a temporary place for items that tend to gather, such as toys, feeding supplies, or leashes. The aim isn’t to hide the fact that the home is lived in. It’s to make photographed spaces feel composed while keeping essentials close at hand.
What should you check just before each room is photographed?
Pause at the edge of the room and scan what the camera will capture. Turn on suitable lights, then follow the photographer’s direction on window coverings, since they’ll assess how the light appears through the lens. Look for reflections in mirrors, visible cords, clutter near the edges of the frame, and open doors that interrupt the composition.
Make a small adjustment only if it helps the space read more clearly. Move a stray item, straighten a cushion, or close a door if that improves the view. Keep pets and personal items out of the frame, then let the room feel like itself.
Quick photo-day checklist
- Clear counters, floors, and key pathways.
- Smooth bedding and straighten visible towels and textiles.
- Put away cords, personal items, and pet supplies.
- Check mirrors and reflective surfaces for distracting details.
- Review each room from the camera’s viewpoint before moving on.
For a plan tailored to your home, book a pre-listing consultation with Pair Home Design.
How Pair Home Design helps prepare a home for real estate photos
Preparing for listing photography feels more manageable when you know what matters most. Pair Home Design is a Chilliwack-based home staging and styling company serving the Fraser Valley and Greater Vancouver. Its approach to staging a home for photos centres on thoughtful choices that help each room’s function, flow, and warmth come through in images while keeping the home’s character intact.
Support can be focused, with a pre-listing consultation, or include professional staging for real estate photography. The right approach depends on the home and what you want to address. Perhaps furniture placement makes a room hard to understand, or a few changes could make the images feel more cohesive. The aim is practical guidance, not a one-size-fits-all checklist.
What can a pre-listing staging consultation help you prioritize?
A consultation brings a trained perspective to details that can be difficult to assess in your own home. Rita can help identify where pathways feel interrupted, whether a room’s purpose reads clearly, and which visible details could benefit from editing before photography. You can then focus on meaningful adjustments instead of trying to perfect every corner at once.
The advice is practical and actionable, giving homeowners a clearer plan for preparing their spaces. Pair Home Design offers pre-listing consultations for homeowners preparing to sell in Chilliwack, Abbotsford, Hope, Mission, Langley, Maple Ridge, Coquitlam, Surrey, Burnaby, and Vancouver.
How does professional staging support a more cohesive photo story?
Professional staging uses curated furniture and décor placement to help rooms feel purposeful and connected from one image to the next. A seating area can make the living room’s use more apparent, while considered placement can make a pathway easier to follow. Rather than filling every surface, the focus is on selecting and positioning elements that support the property’s presentation and create a welcoming impression.
Pair Home Design is led by Rita, a professional stager and Real Estate Staging Association member. Her perspective brings consistency to how each space is presented while responding to the home itself. Pair Home Design provides staging and styling services across the Fraser Valley and Greater Vancouver.
Whether you need direction on what to adjust or a more complete staging perspective, the process can turn photo-day uncertainty into considered next steps. The goal is a home that feels polished on screen and still recognizably yours.
Explore Pair Home Design’s staging services and find a thoughtful way to prepare your home for listing photos.
Let your home’s character come through
Photo day doesn’t ask you to turn your home into someone else’s idea of perfect. It’s an opportunity to present its character with intention, so a future buyer can picture not only how the rooms look, but how they might feel to live in. That balance is the heart of staging a home for photos: thoughtful choices that make the images feel polished without losing the warmth that makes the space yours.
Begin with one useful question: what would you want someone to notice first as they step into each room? Let the answer guide your final decisions. If you’d value a design-minded perspective as you prepare, explore Pair Home Design’s home staging services and choose an approach that suits your home.
A little clarity can make the next step feel much more manageable. Your home can look ready for the camera and still feel like home.
Frequently Asked Questions
Is staging a home for photos worth doing?
It can be worthwhile if rooms look cluttered, vacant, or hard to understand in listing images. Staging a home for photos can help clarify how a space is used and keep attention on its features, though it can’t guarantee a particular sale result. Start with a practical test: look at the room through your phone camera. If furniture, loose items, or uneven light dominate the frame, consider which small changes could help.
What should I remove before real estate photos?
Put away items that draw attention away from the room, such as laundry, personal toiletries, loose cords, excess countertop objects, and crowded-surface clutter. In a family room, for example, tuck away game controllers and charging cables while leaving a cushion or throw that adds warmth. You don’t need to empty every surface. Keep a few details that suit the room, then check that they don’t distract from its purpose.
How do I make a small room look bigger in photos?
Keep the main route through the room open and move furniture that makes it difficult to see how the space works. Clear items from the floor and avoid filling the camera’s view with small accessories. Ask the photographer to consider angles that show the layout clearly and honestly. Don’t use editing or staging choices that misrepresent the home’s actual dimensions. The aim is a clear impression, not an illusion of extra space.
Should all the lights be on for real estate photos?
Not necessarily. The best choice depends on the room, available daylight, and the photographer’s approach. Before the shoot, turn on the fixtures that create a comfortable, balanced look, then follow the photographer’s direction about lamps and window coverings. Notice whether a light creates glare or an uneven effect. The goal is a natural-looking image where the room’s details remain easy to see, not maximum brightness everywhere.
Can I stage my home for listing photos while still living in it?
Yes. You can prepare an occupied home with a temporary reset rather than clearing it of everything. Keep a basket or designated storage spot handy for toys, mail, or daily-use items that need to move before a room is photographed. This makes it easier to restore the space afterwards. Prioritize the rooms and views planned for the listing so preparation stays manageable alongside work, family routines, and pets.
When should I hire a home stager before listing photos?
Consider professional guidance if a room feels awkward to arrange, a vacant space lacks a clear sense of scale, or you’re unsure which changes will matter most in the images. A consultation can help you focus on practical priorities; staging can bring in considered furniture and décor to give a space context. Pair Home Design supports listing preparation in Chilliwack, Abbotsford, Hope, Mission, Langley, Maple Ridge, Coquitlam, Surrey, Burnaby, and Vancouver.